app
Creating Projects
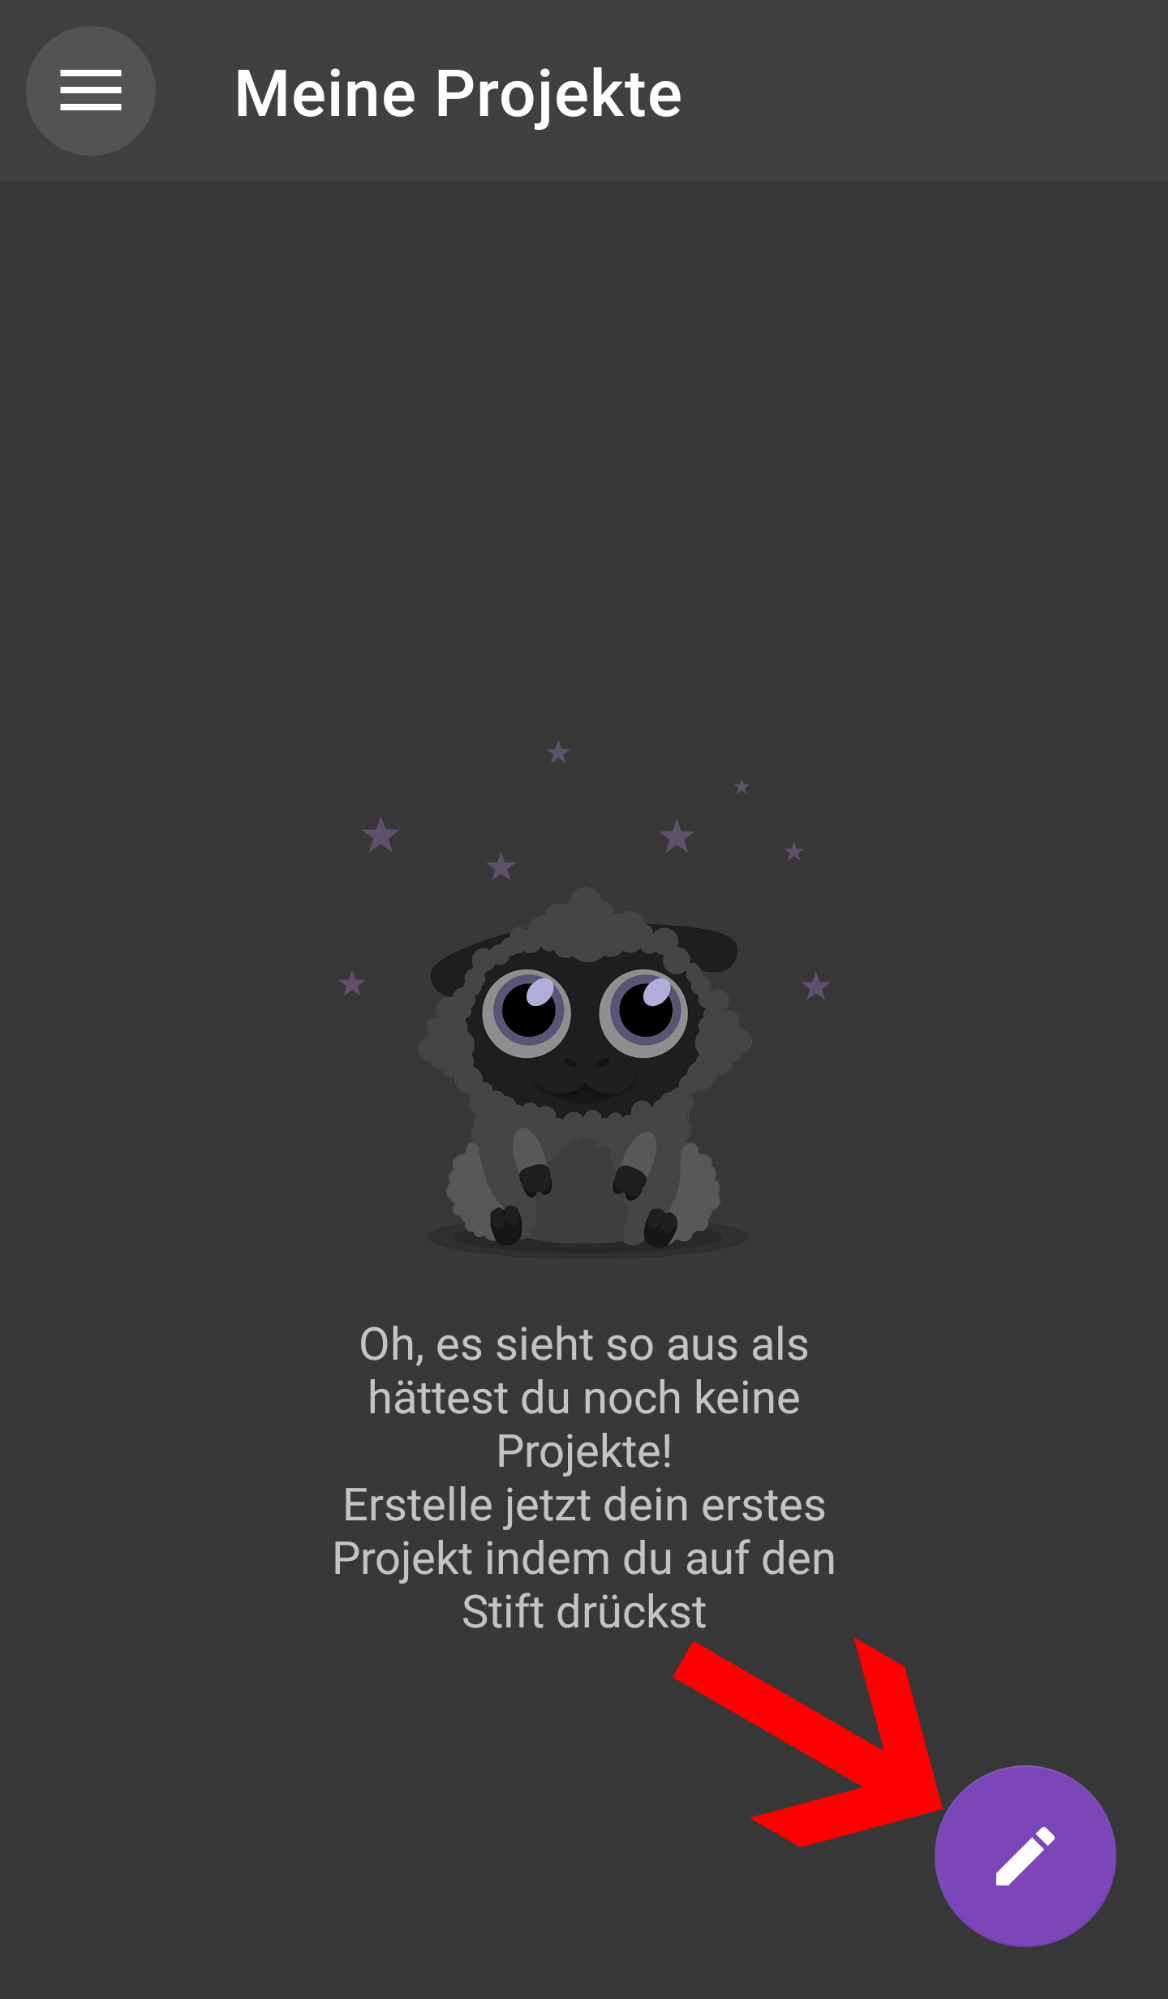
My projects
At the bottom right, there is a purple button with a pen icon. This is where a new project is created.
Craft type
Since versions 1.40 (Android) and 1.20.0 (iOS), there has been a craft type selection before project creation.

This offers several advantages for the later flow and for our development. Depending on the selected craft type, the available color palettes change, the color limits adapt sensibly to the craft type, and when starting projects, the craft technique selection is adapted or skipped.
At the moment, the following craft types are available:
Crochet
- Color limit per project: 16
- Techniques: Standard, Tunisian, C2C
Knitting
- Color limit per project: 16
- Techniques: Standard, Doubleface
Embroidery
- Color limit per project: 64
- DMC / Anchor color palettes are additionally available
- Also works well for diamond painting, since the diamond colors mostly match DMC shades
- Extra craft technique for embroidery

Painting
- Color limit per project: 32
- Technique: Standard
Other
- Color limit per project: 32
- Ideal for trying out other craft types that are not listed (mosaics, adhesive dots, etc.)
- Techniques: All available (unlocked) techniques
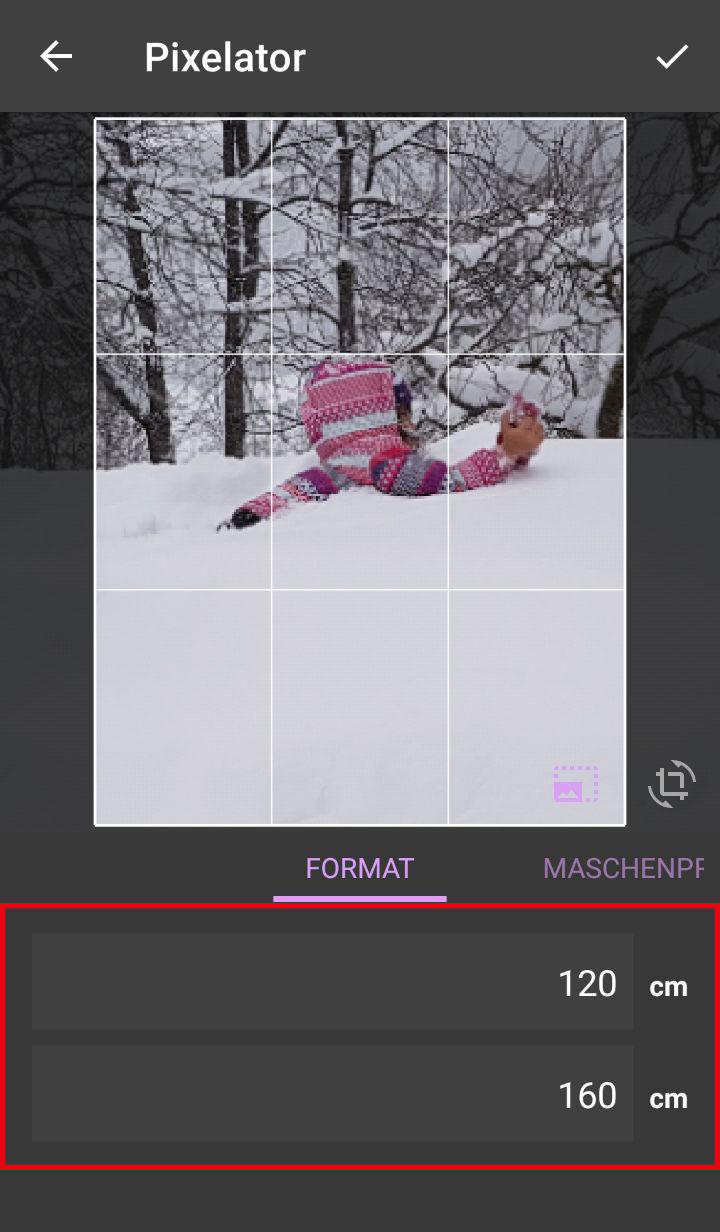
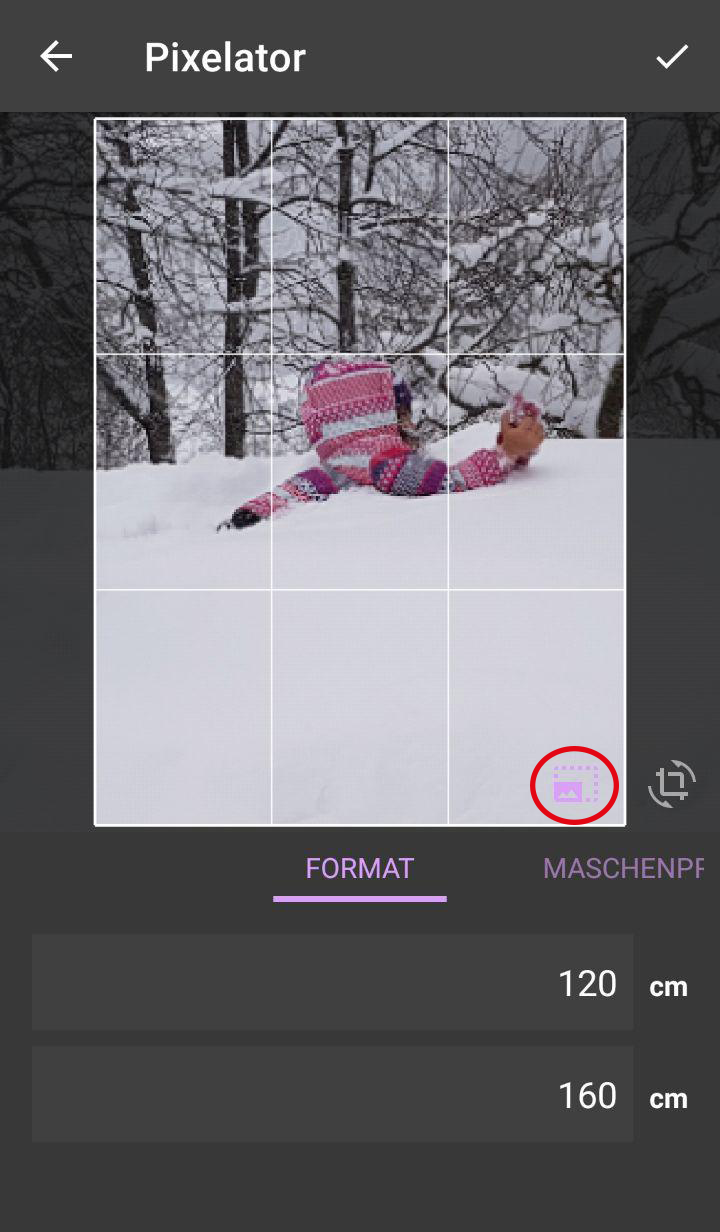
Format
Project size
If you have granted access to photos on your phone, the gallery will now open and you can choose your desired motif.
If nothing happens when you tap the pen, you should check the Android settings under:
Settings > Apps > Wooltasia > Permissions
and make sure the app is allowed to access the photo gallery.
After selecting an image, you can first enter your format.
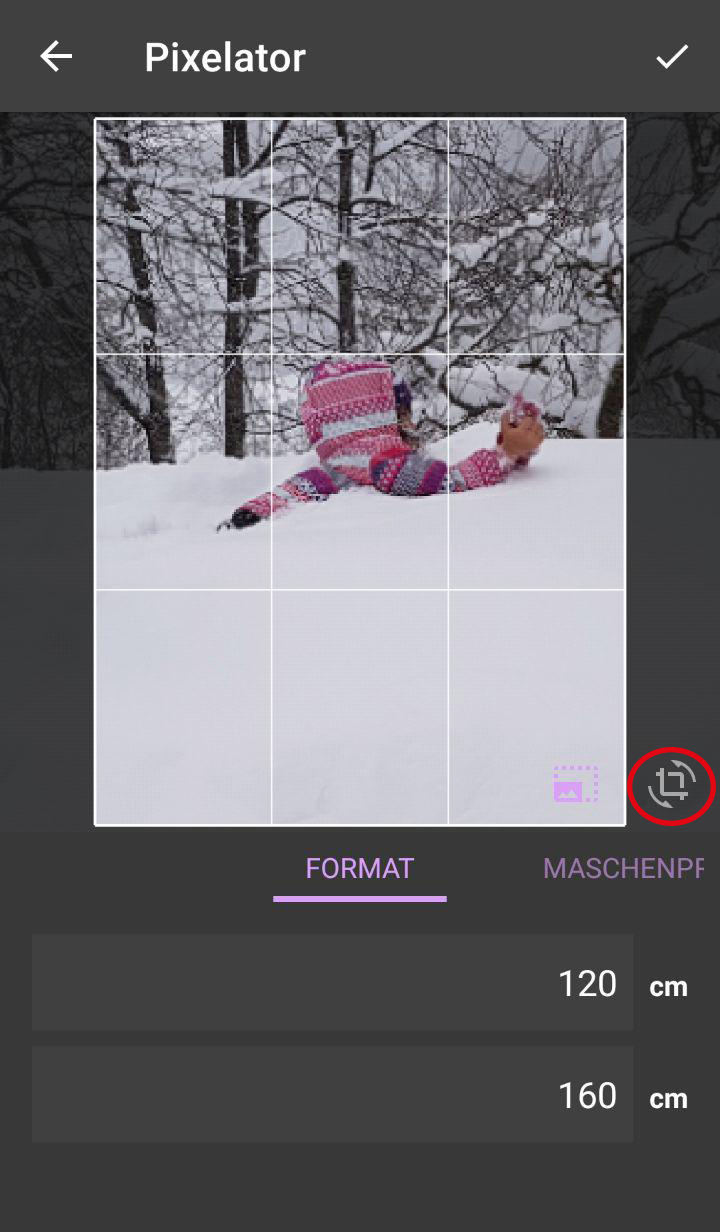
Lock scaling, position, and image rotation
On the right below the motif, there is a lock icon. Tapping it opens a selection with three options for locking separately:
- Rotation
- Scaling
- Image position
If you enable all three options, the image transformation is fully locked.


Gauge swatch
Once you have set up your desired size and image crop, continue with your gauge swatch.
Tap or swipe to the input screen for your gauge swatch.
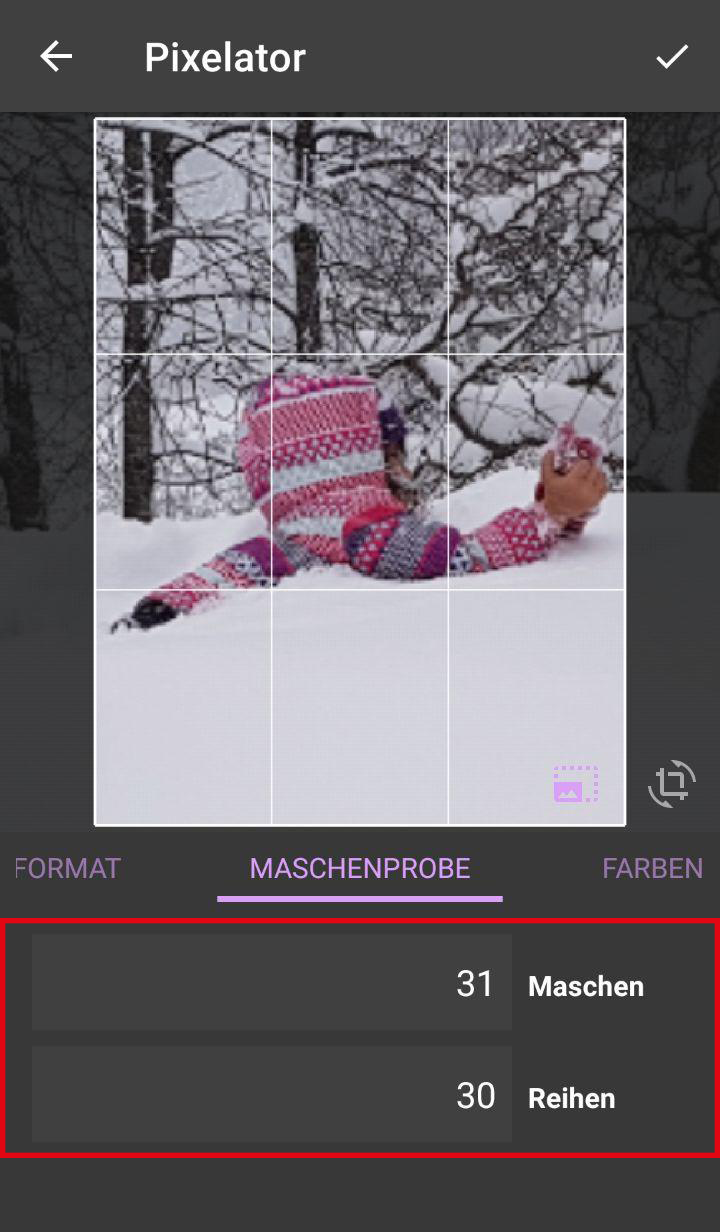
Important
If you do not know what a gauge swatch is, you should definitely visit Gauge swatch!
Colors
At the moment (as of 1.3.3) you can choose from three different color palettes:
- Pixel colors (available from Anika's Wollstuebchen)
- Pixel colors (grayscale)
- Universal colors
- Universal colors (grayscale)
Colors that are in use are marked with an eye icon. Clicking a color field deactivates the corresponding color, and the eye icon disappears. Clicking it again reactivates the color.
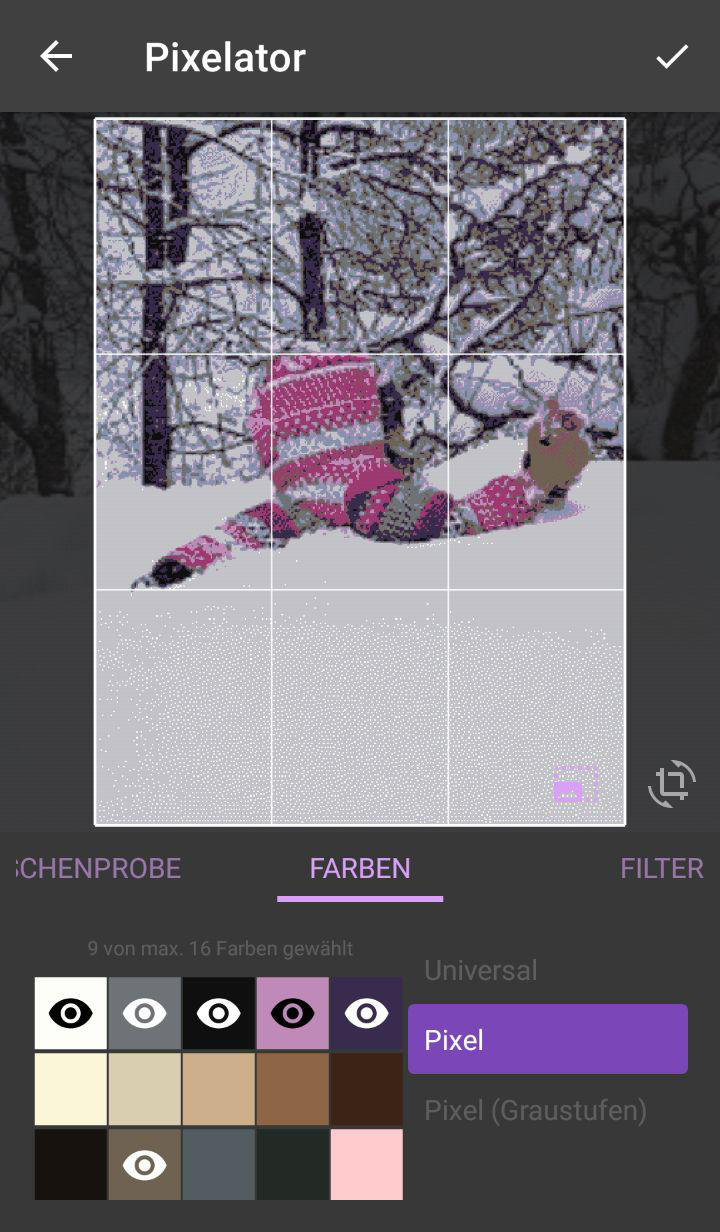
Important
At least two colors must be selected before you can complete the project.
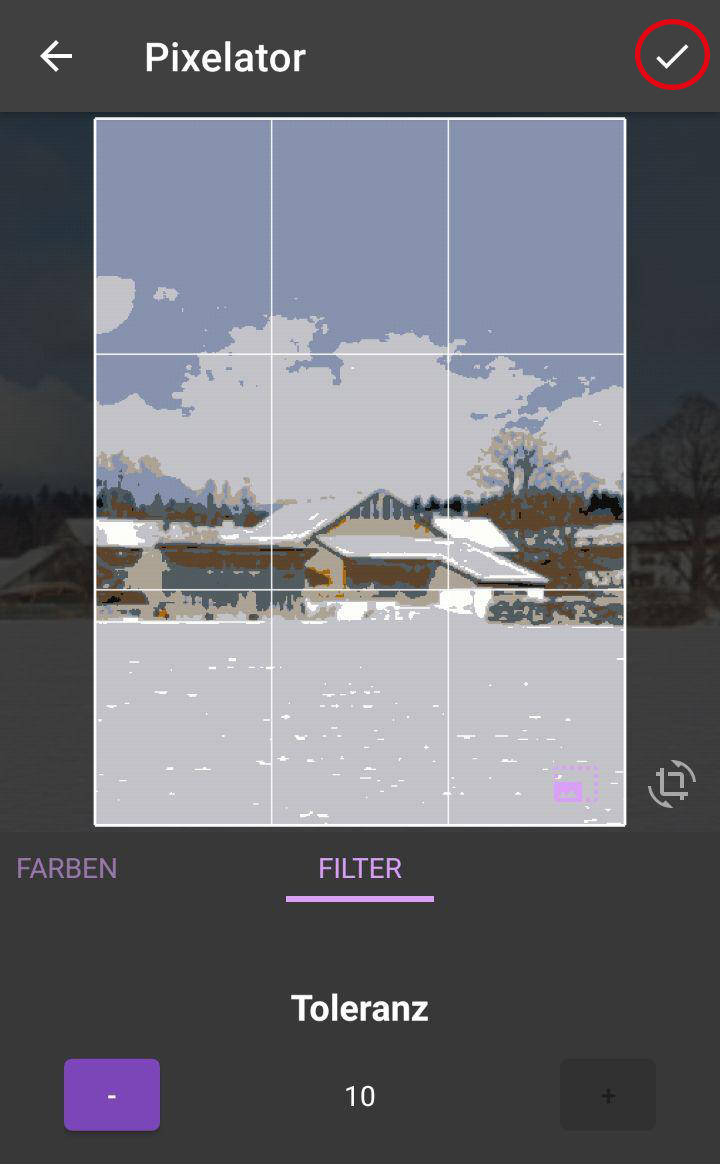
Filters
Now it gets exciting: filters help you give your motif the final polish. Even small adjustments can make a big difference, especially in details, edges, and areas.
The classic filters at a glance:
- Brightness: Makes the entire image lighter or darker.
Very helpful if the photo was taken too dark. - Contrast: Increases the difference between light and dark.
More contrast makes contours clearer, too much contrast can eat details. - Unsharp Mask: Sharpens edges selectively.
Perfect for bringing out important shapes more clearly. - Dithering Tolerance: Controls how strongly neighboring color tones are grouped together.
Higher values often create calmer surfaces. - Bayer Dithering: Creates a regular grid pattern for color transitions.
For certain motifs, this can produce a very clean, graphic look.
Tip: Work in small steps and compare the preview after each change.
Finish setup
Once you are done with your settings, you can confirm the project with the check mark in the top right corner. You are then in the project overview.
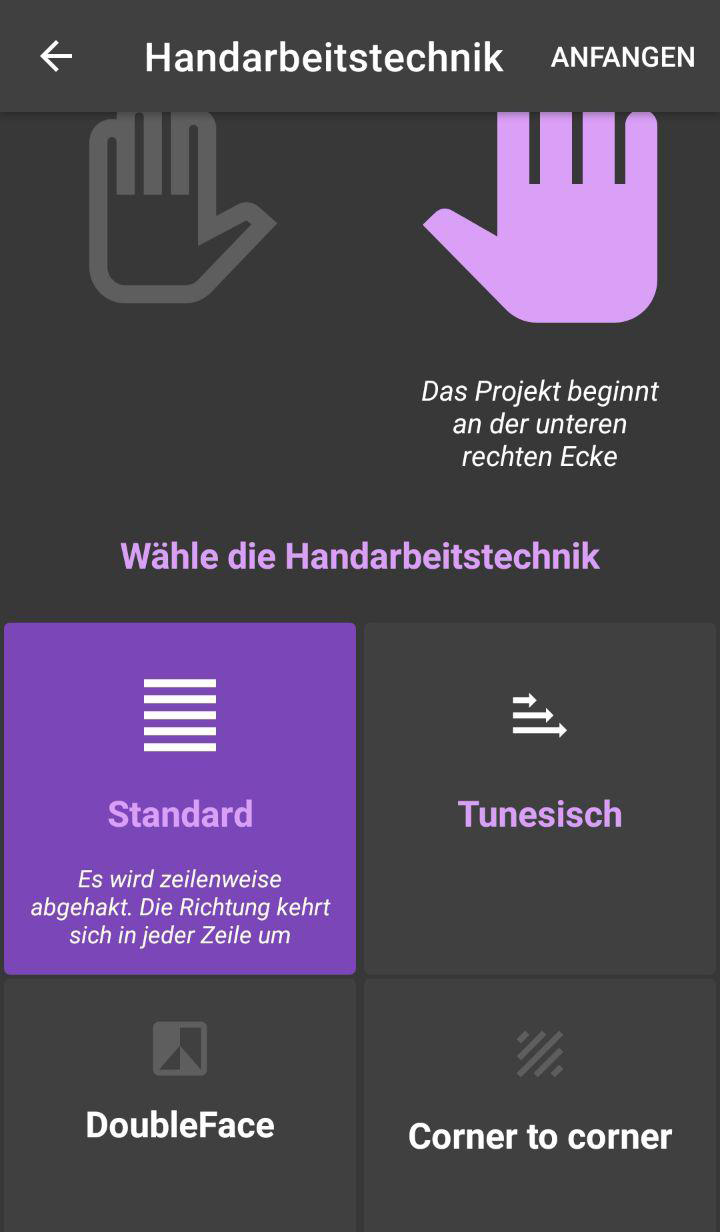
After setup, you land in the project overview and start your project from there. When starting the project, you only need to choose your handedness.

Here you choose:
- Right hand for right-handed users
- Left hand for left-handed users
After that, you can get started right away.